Yogourmet® Sourdough Starter – French Style
Enjoy the art of French-style sourdough breadmaking in the comfort of your own kitchen with the Yogourmet® Sourdough Starter. Designed for convenience and consistent results, this starter lets you create delicious, authentic sourdough bread with ease. Perfect for home bakers, it eliminates the need to maintain a traditional sourdough starter by providing a reliable and versatile alternative. Download the detailed instructions here.
Important Considerations Before You Begin:
To achieve the best results, it’s important to manage these key elements: temperature, water quality, flour selection, timing , and product preparation:
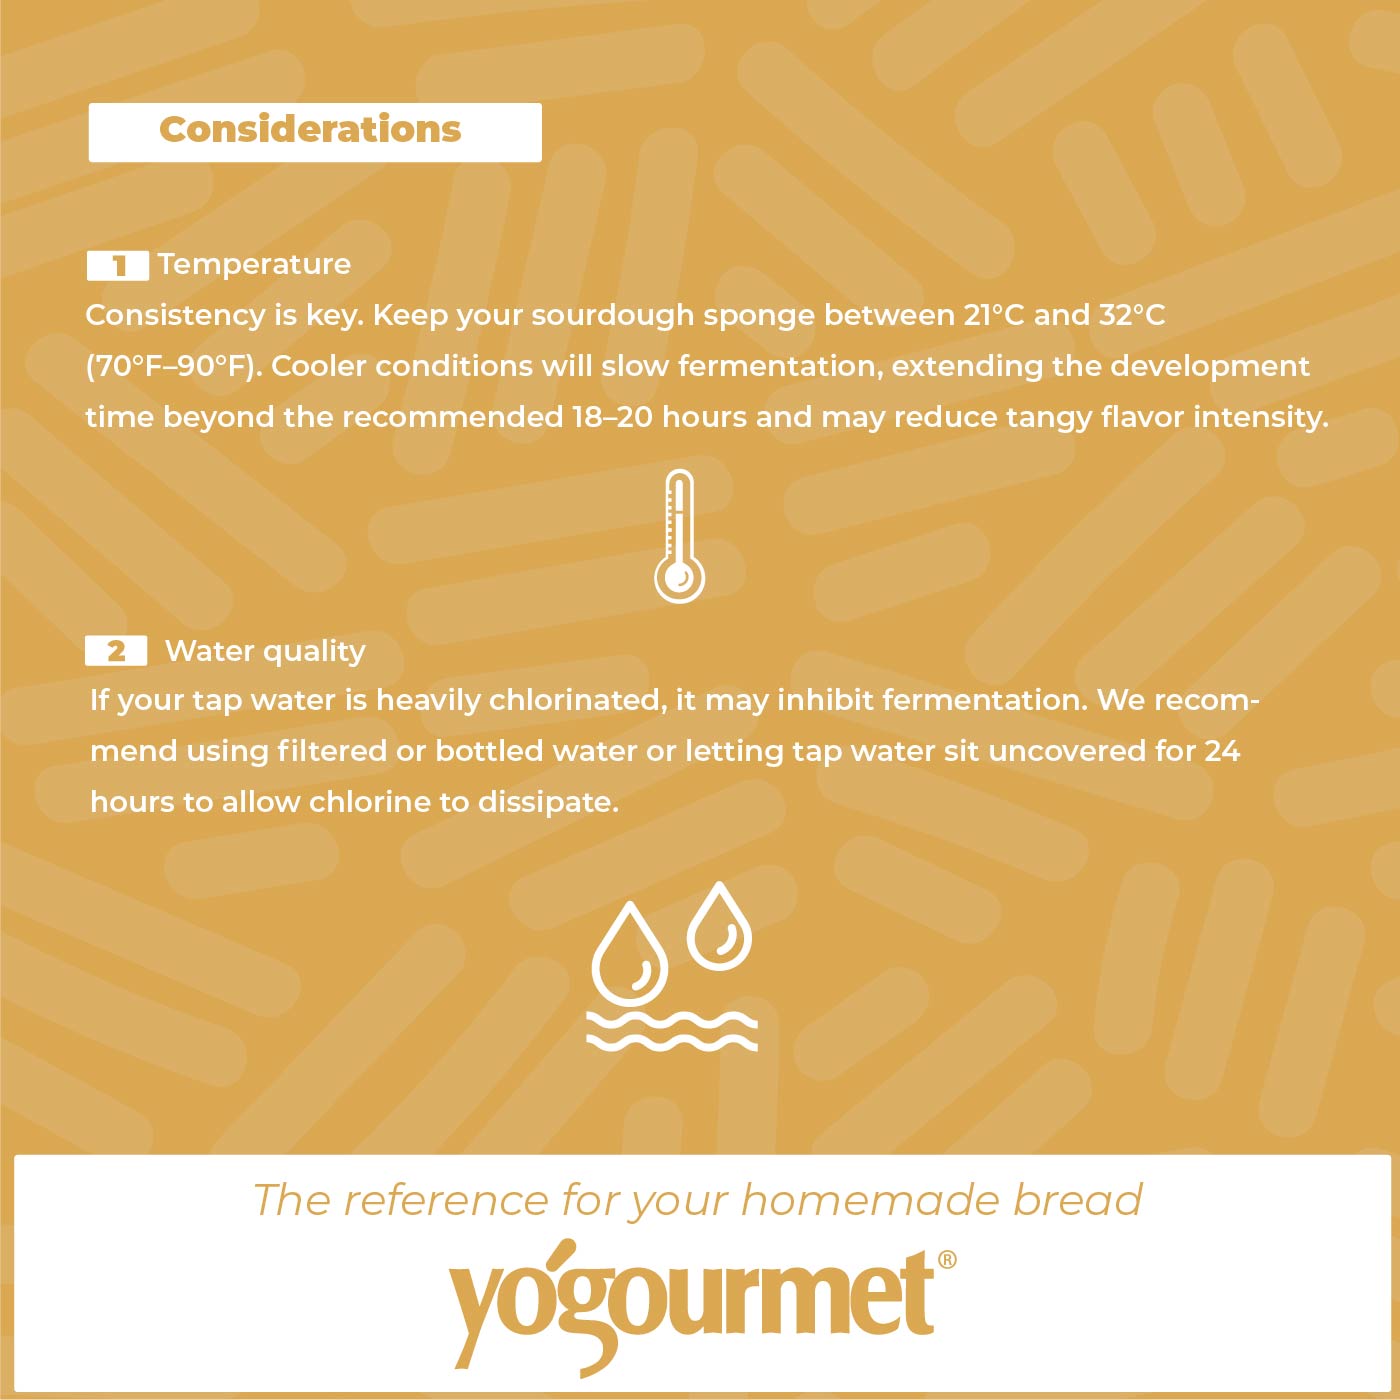
· Temperature: Consistency is key. Keep your sourdough sponge between 21°C and 32°C (70°F–90°F). Cooler conditions will slow fermentation, extending the development time beyond the recommended 18–20 hours and may reduce tangy flavor intensity.
· Water Quality: If your tap water is heavily chlorinated, it may inhibit fermentation. We recommend using filtered or bottled water or letting tap water sit uncovered for 24 hours to allow chlorine to dissipate.
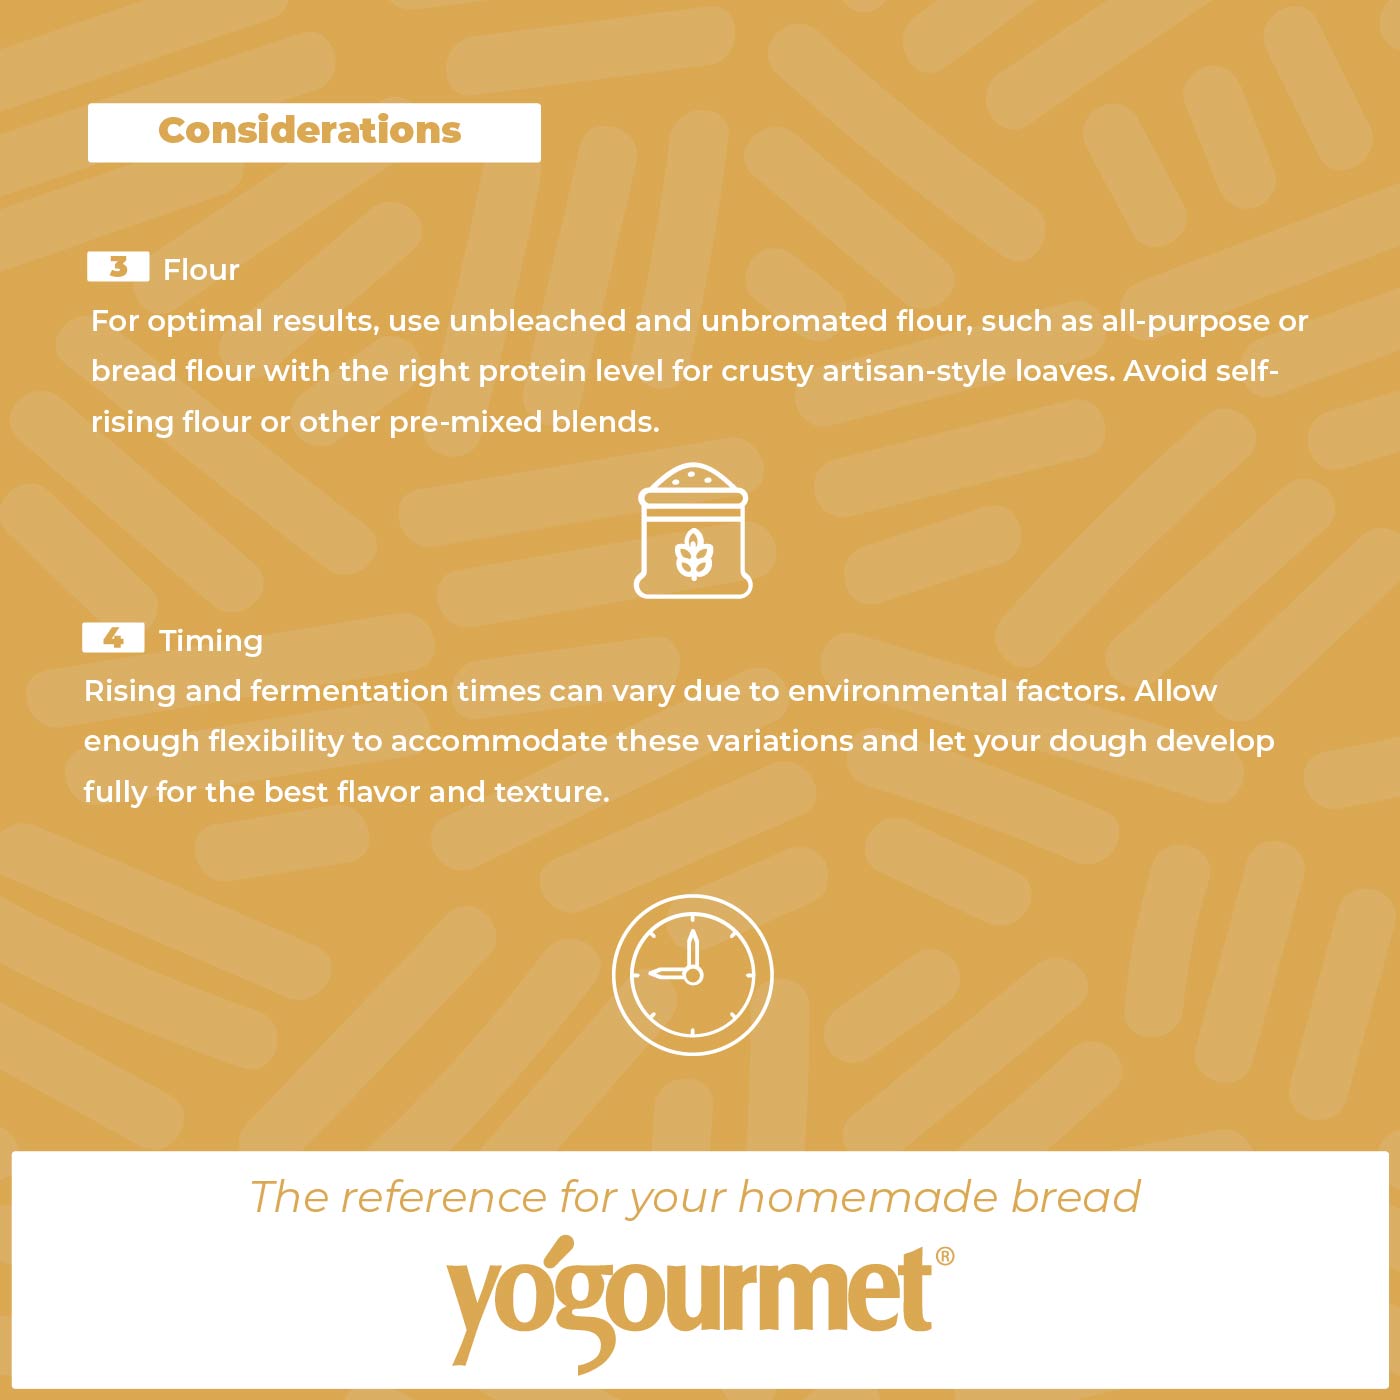
· Flour: For optimal results, use unbleached and unbromated flour, such as all-purpose or bread flour with the right protein level for crusty artisan-style loaves. Avoid self-rising flour or other pre-mixed blends.
· Timing: Rising and fermentation times can vary due to environmental factors. Allow enough flexibility to accommodate these variations and let your dough develop fully for the best flavor and texture.
· Sachet Preparation: For consistent results, gently shake the sachet before opening to ensure the contents are evenly distributed. This step helps maintain homogeneity and accuracy in measurements.
Standard recipe to prepare 2 loafs
Step 1: Preparing the Sponge
Ingredients:
· 1 g (1/4 teaspoon) Yogourmet® Sourdough Starter
· 240 g (2 cups) unbleached all-purpose or bread flour
· 227 g (1 cup) warm water
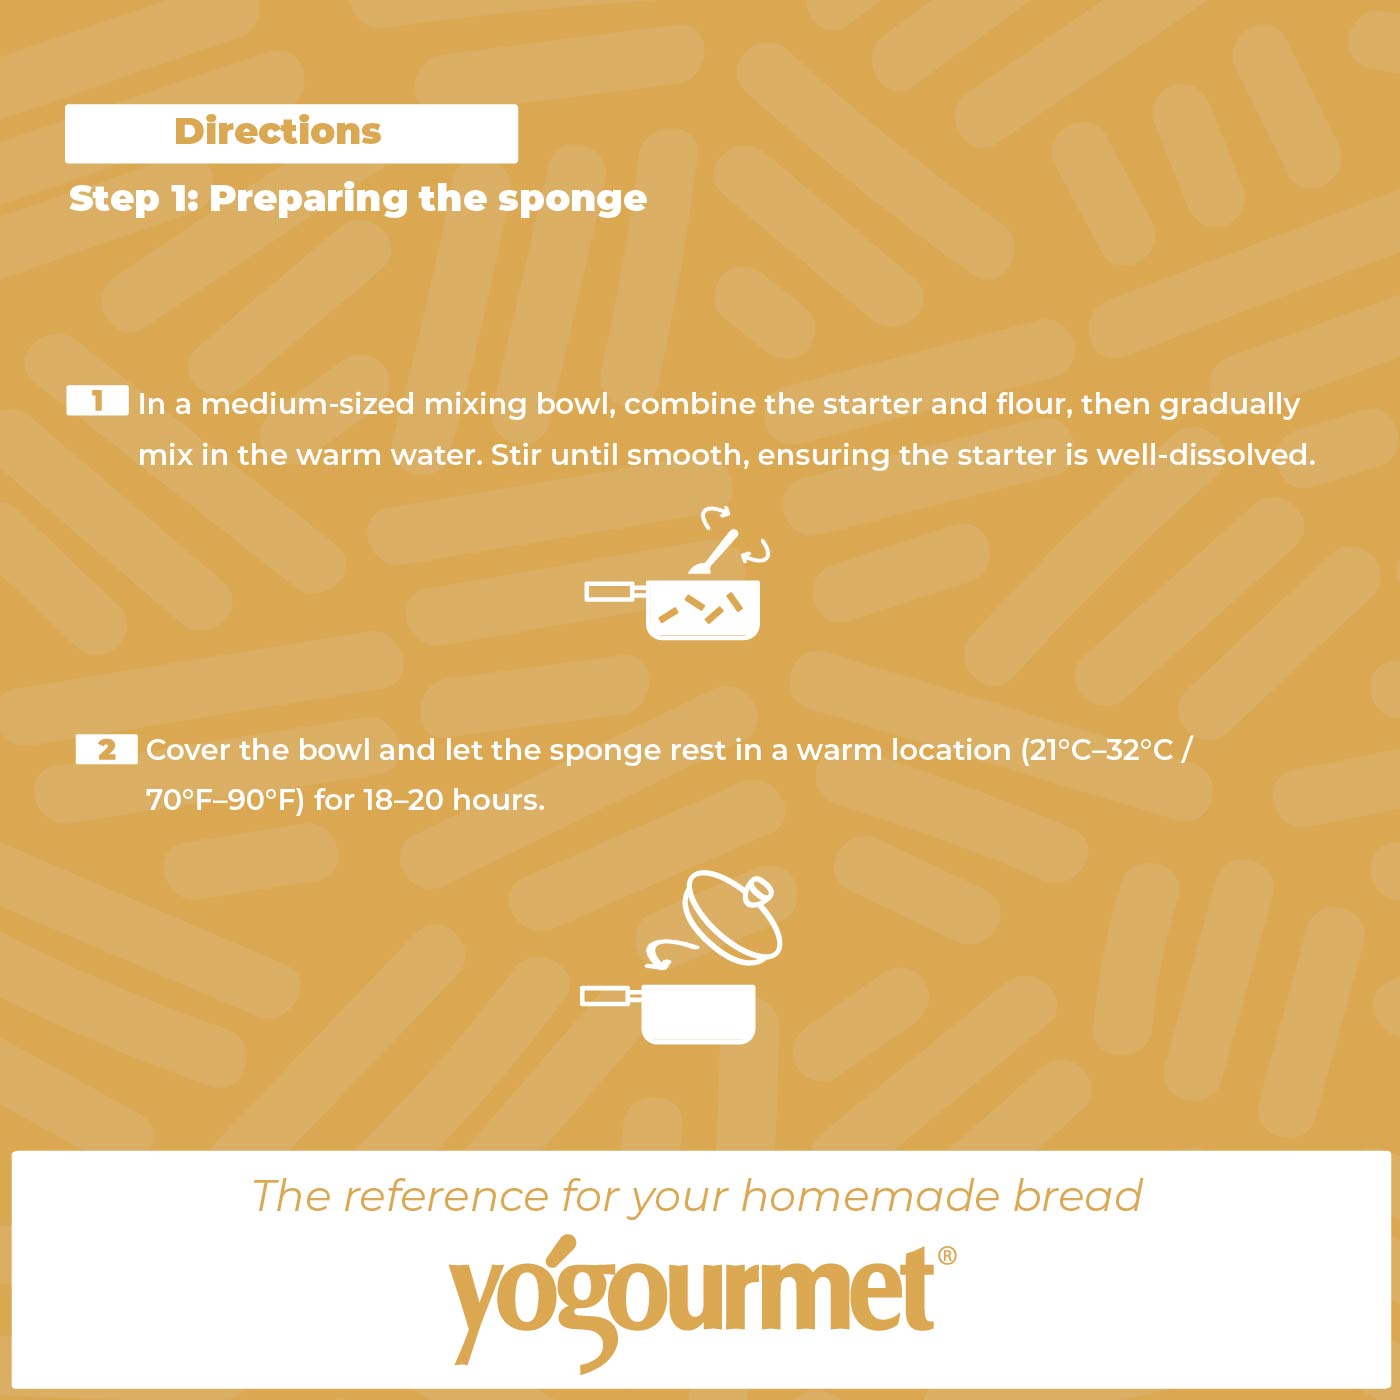
1. In a medium-sized mixing bowl, combine the starter and flour, then gradually mix in the warm water. Stir until smooth, ensuring the starter is well-dissolved.
2. Cover the bowl and let the sponge rest in a warm location (21°C–32°C / 70°F–90°F) for 18–20 hours.
3. Once ready, the sponge will expand, form bubbles, and develop a pleasant aroma. You can store the prepared sponge in the refrigerator for up to 7 days if not used immediately. (Tip: For a stronger sour flavor, substitute half the white flour with rye or whole wheat flour.)
Note: During refrigerated storage, fermentation may continue at a slower pace, which could slightly modify the results. This is primarily due to yeast activity at cooler temperatures, leading to milder aromas. This natural progression can add unique flavors, which is one of the joys of homemade sourdough!
Step 2: Preparing the Dough
Ingredients:
· All the sponge from Step 1
· 360 g (3 cups) unbleached all-purpose or bread flour
· 170 g (¾ cup) warm water (adjust slightly depending on flour type and environment)
· 1 ½ teaspoons salt (sea salt recommended)
· ½ teaspoon instant yeast (optional for faster rising)
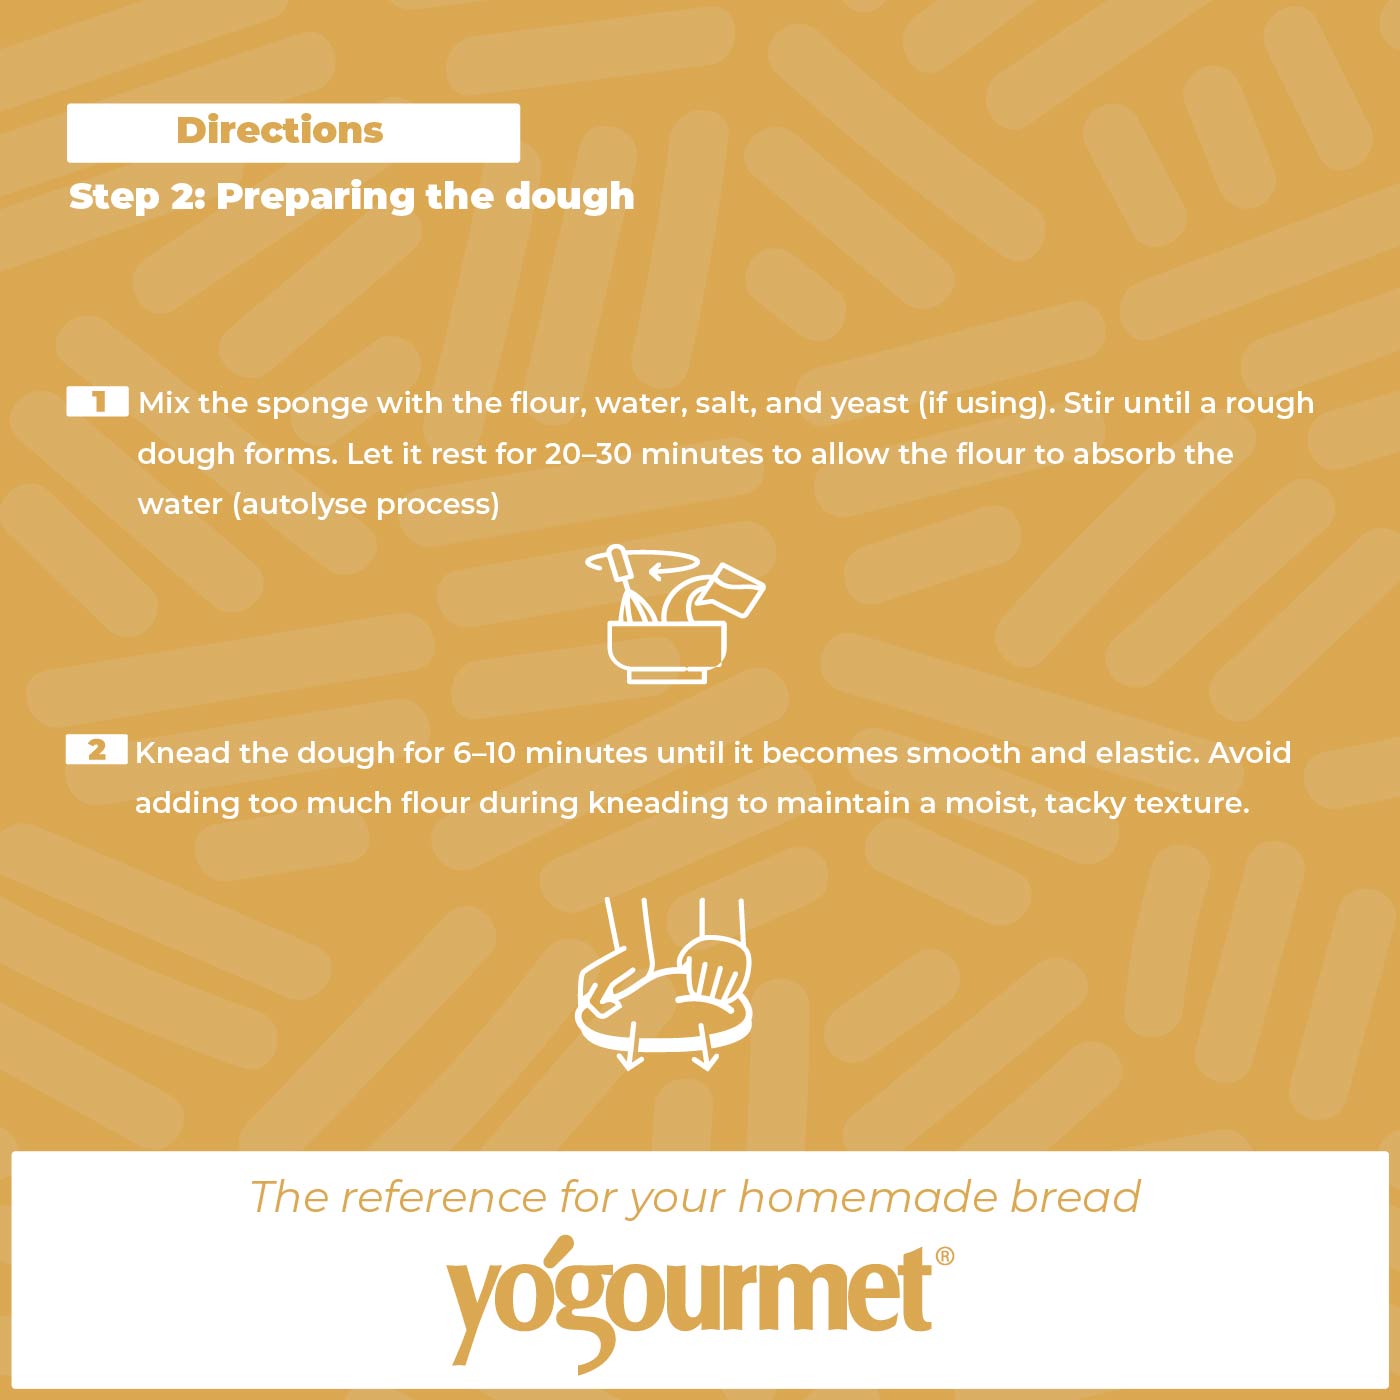
1. Mix the sponge with the flour, water, salt, and yeast (if using). Stir until a rough dough forms. Let it rest for 20–30 minutes to allow the flour to absorb the water (autolyse process).
2. Knead the dough for 6–10 minutes until it becomes smooth and elastic. Avoid adding too much flour during kneading to maintain a moist, tacky texture.
3. Place the dough in a lightly greased bowl, cover it, and let it rise in a warm area for 2–3 hours. Gently deflate and fold the dough after 1 and 2 hours to ensure even fermentation.
Step 3: Shaping and Proofing
1. Divide the dough into two equal portions and shape them into rounds or your preferred shape.
2. Let the shaped loaves rest for 20 minutes, then transfer them to a heavily floured proofing basket, linen cloth, or greased baking sheet. Cover and let rise for another 2+ hours until nearly doubled in size.
Step 4: Baking
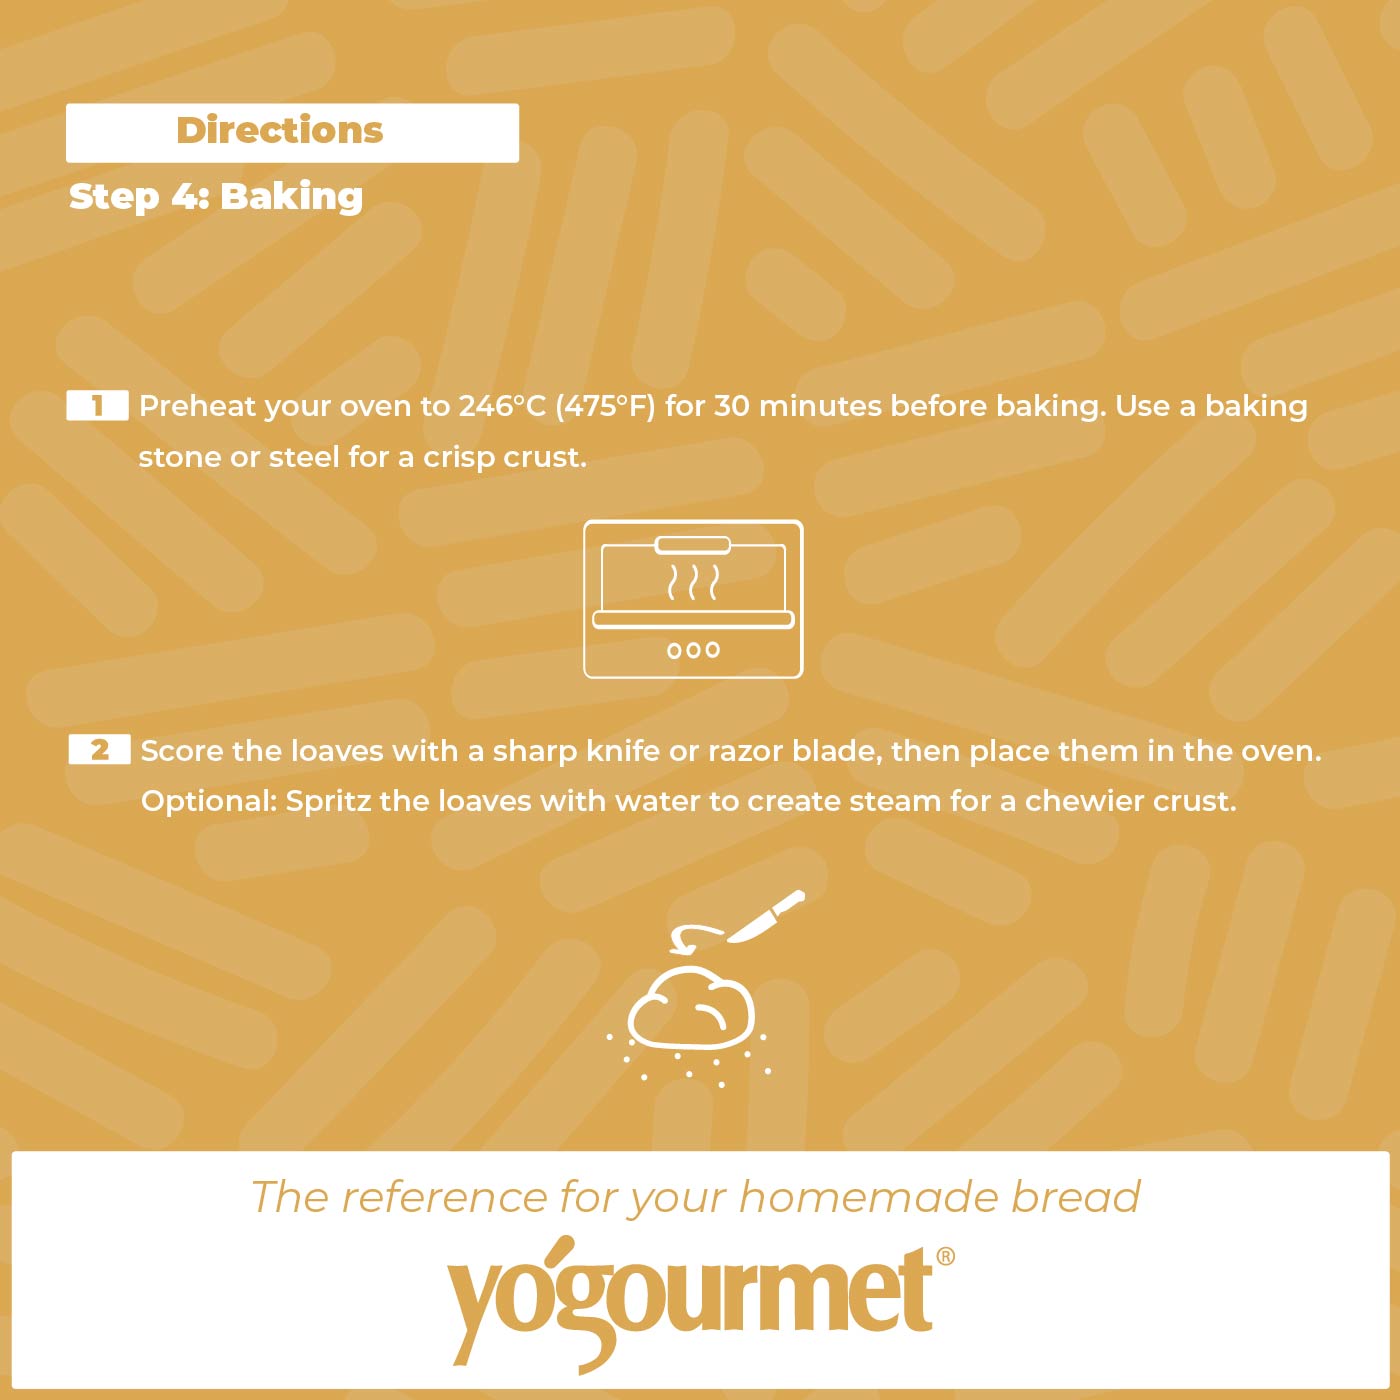
1. Preheat your oven to 246°C (475°F) for 30 minutes before baking. Use a baking stone or steel for a crisp crust.
2. Score the loaves with a sharp knife or razor blade, then place them in the oven. Optional: Spritz the loaves with water to create steam for a chewier crust.
3. Lower the oven temperature to 232°C (450°F) and bake for 18–25 minutes. Ensure the bread reaches an internal temperature of 93°C–96°C (200°F–205°F) for proper doneness.
4. Allow the bread to cool for at least 1 hour before slicing to maximize flavor development.
Storage and tip
Storage and Shelf Life
Store unopened sachets in a cool, dry place. After opening, reseal the packet tightly and freeze it for up to 6 months to maintain potency.
Additional Tips
· A single 5 g sachet can prepare multiple loaves. For convenience, consider using a portion of the sponge at a time, storing the remainder for future bakes.
